How to migrate an existing React Web App to Desktop App with Electron
What is Electron?
Electron is a framework for building desktop apps with web technologies. We can build cross-platform applications and run them on all platforms (macOS, Ubuntu, Linux, or Windows) just by using JavaScript. Electron is being adopted by big organizations such as Microsoft, Facebook, Twitch, so we can be sure that this framework can cover all our needs in desktop application development. Thanks to Electron, you can focus on your application instead of the technologies that you need to use.
Why do we integrate Electron into our existing React app?
We wanted to get a desktop application without any changes to our existing codebase for the web application. We still could use HTML5 Notifications API to send notifications from the Renderer process. Also, we could proceed using our existing shortcuts listeners and basically, still consider our application to be a web application. In this article, we will go through a small tutorial on how to integrate Electron into a React app.
Let’s code!
Let’s create a basic and very common React application with react-router-dom and Typescript.
You can skip the steps to create our basic app and fetch it from here.
Run the below command to create a React app:
Please notice that we need to install dev dependencies in the devDependencies section of our package.json file. Otherwise, our dependencies will be included in the production build and that will increase the bundle size. Also, it’s strongly recommended to use yarn instead of npm to avoid some unexpected issues with building and running the Electron app.
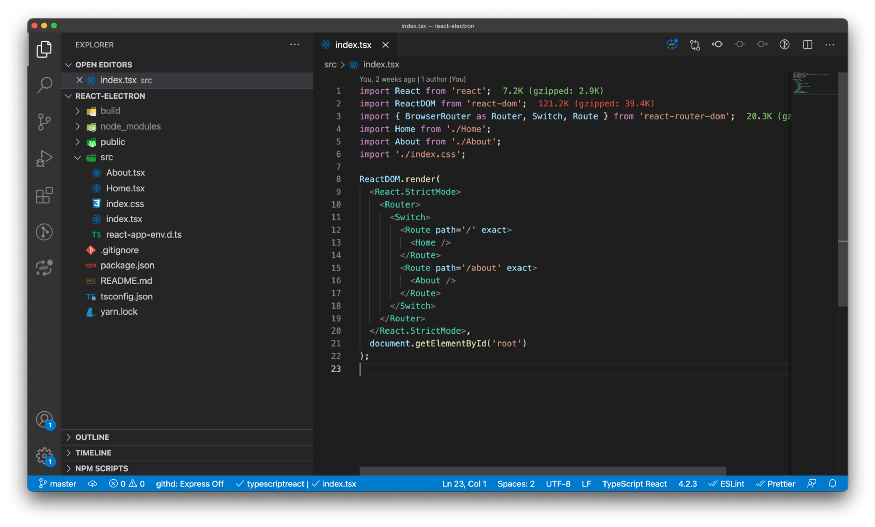
Let’s add a router to the app:
We can remove created files from src folder and add new ones. Once our packages are installed, we can implement routing. We are going to add two pages: Home and About.
Now, we are done with creating a basic React app. So our project structure should look like this:
Integrate Electron and run a desktop application
We need to install dependencies to run the app with Electron. Let’s go to a folder with a project in your terminal and run the next command:
We’ll use the packages concurrently and wait-on to run the application in development mode, locally.
Once we are done with installing dependencies, we can go to coding. Create a folder electron on the root level of the project and add a file main.ts there. In this file, we create a window on a full working area:
Please, visit this link to find more BroswerWindow properties.
Now we need to edit package.json to run the app with Electron. So open the package.json file and add script electron:start:
Also, we need to add the “main” field to specify the entry point for the Electron application with the path to a file with the main process (in our case it’s electron/main.ts).:
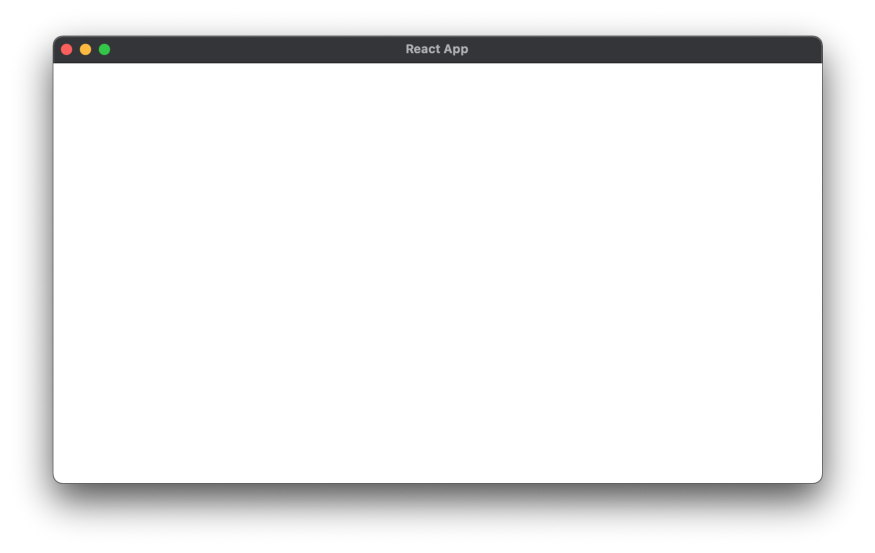
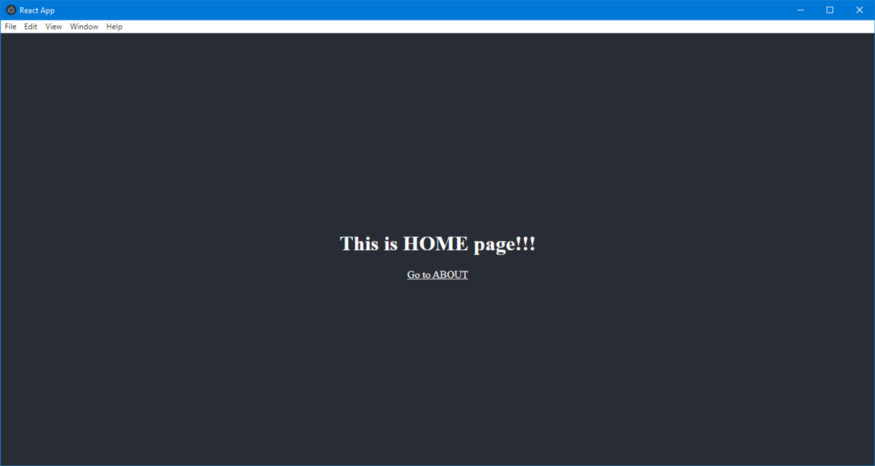
Congrats! Now we are ready to run the existing app both in a browser and with Electron. Let’s try it. Open your terminal and run:
As you can see, the script yarn electron:start runs the app in a browser, and once the app opens on localhost:3000 , it’s also wrapped with Electron and opens on as a separate desktop application. You can see the same application in a browser and in a separate window.
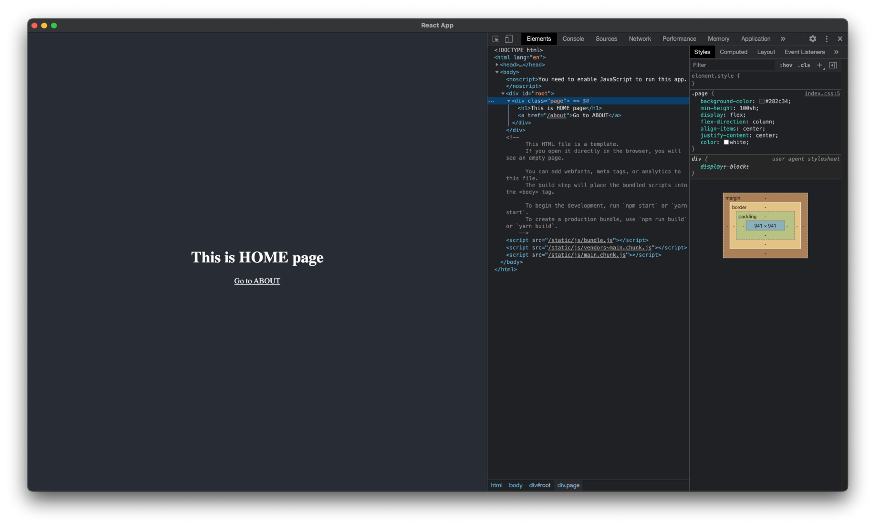
What about debugging?
You can debug Electron app just like your web app without difficulty. Electron uses Chromium under the hood, so you can assume an Electron app to be like any other web app and use debugging tools that you use in the browser. You can open DevTools and access Elements, Console, Network, and other tabs, which you use every day in web programming.
You can try to edit any component in the src folder and see that React Fast Refresh works correctly both in the browser and in Electron.
Okay, now we know that the app has the same behavior in a browser and in Electron. Accordingly, we still can interact with the Electron app as with any other web app opened in a browser. We can use the same shortcuts, open links, etc.
You can try to open the Home page or the About page in a new tab: hold down the Command key (Ctrl on Windows) and click on the link — the link will be opened in a new window.
If that’s not your intended behavior, then you can easily prevent that. All you need to do is just add the below code in electron/main.ts file:
Open this link to find more events for controlling a BrowserWindow
Build for distribution
There are three tools you can use for building and packaging your apps for distribution:
Electron Builder and Electron Forge uses Electron Packager under the hood.
In my opinion, Electron Builder looks more preferable because of good documentation and high configurability. It supports building for Linux, macOS, Windows. You can easily sign your application. As a bonus, it supports Auto-Updates from the box. You can use Electron Builder to create distribution builds for different OS from the one machine. It also has Docker images to create Windows and Linux builds from any OS.
Okay, let’s take Electron Builder and try to create distribution builds. As a first step, install our building tool:
Now, we need to specify options for distribution build. Add the next bit of code to your package.json file:
The homepage path for Electron must be specified too. Electron uses this path to know, where our CSS and JavaScript files are. You need to use your own appId and productName. Here we’ve added only the required fields essential to build the app. You may need to specify win or linux field instead of mac , if you don’t use macOS.
You can find more possible options here.
There is a small issue with building the app. We specified a homepage as ./ which is correct for an Electron app. But for the web production build, we need to use / . So, let’s adjust our scripts to use different homepages for the Electron app and a simple web app:
Also, we need to add a script to build a distribution app. Open a scripts section in your package.json file and add this command:Also, we need to add a script to build a distribution app. Open a scripts section in your package.json file and add this command:
Your package.json file should look like this:
Yep, we are almost there. We have to specify the start URL for our app.First of all, we need to add a new dependency to determine whether the app is running in development or production mode:
Now open the main.ts file in your code editor and replace the startURL . Probably, you don’t want to support DevTools in the production build, so we will remove them.
Now we’re done with configurations for the distribution build. But we still have to take one more step for our react-router . The problem is with using BrowserRouter in our web application. It doesn’t work with file-based environments which Electron is. That is why you will see a white screen instead of an application.
So, what is the solution here? We need to use BrowserRouter for web application and HashRouter for the Electron.
Let’s add a new utils file with a function to check whether the app is running in an Electron environment:
We also need to update our index.tsx file to use the correct router history depending on environment:
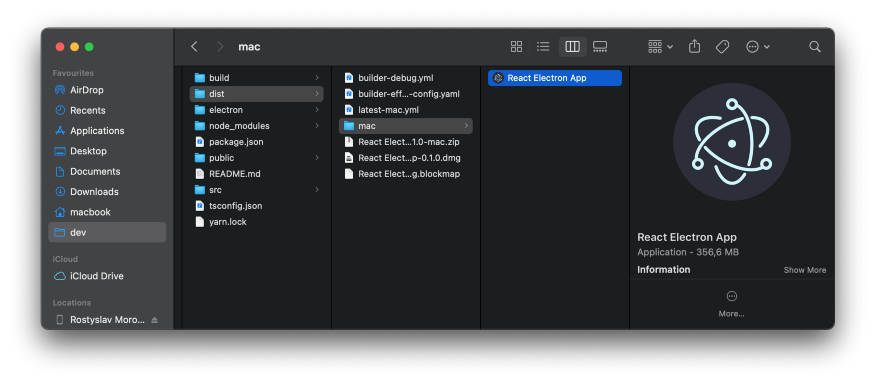
Okay, now we can run the electron:build script:
This script will generate a dist folder with an executable file of our app. It also will create a DMG file for macOS:
As I’ve mentioned previously, you can build distribution files for Windows and Linux from your Mac machine. It’s possible if you don’t use any platform-related modules (In other words, it’s always possible if you just wrap your existing web app with Electron). To build the app for different platforms we need to add a new script to our package.json file:
This script will generate executable files for macOS, Windows, Linux:
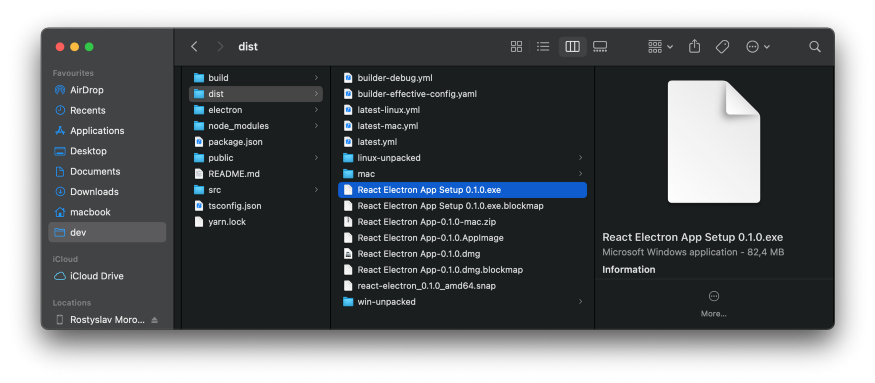
As you can see, electron-builder created setup files for different operating systems. Let’s try to run the setup file on Windows:
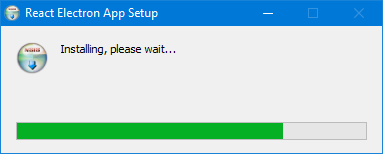
The app, built on macOS, is successfully installed and launched on a Windows machine. Can it be easier? I don’t think so. Electron Builder did all the work instead of a developer with just a few simple configurations.
Code signing
It’s possible not to sign the application but it’s not a recommended practice. Mac will block this app and will require a lot of additional steps for its installation. Windows will require one more additional confirmation step. Also, there is no possibility to distribute the app without signing through App Store and Windows Store.
To sign the macOS application you need to follow the next steps:
- Enroll in the Apple Developer Program.
- Generate two certificates: Developer ID Application and Developer ID Installer.
- Launch Keychain and go to ‘My Certificates’. Find these certificates and highlight all of them: Cmd+click, right-click, and export as p12.
- Include this p12 file to build.
- Add environment variables to build machine.
Conclusion
So, now you have done it. Congratulations! We’ve successfully integrated Electron into our React app.
You can find the code for this tutorial here
Thanks for reading. We’re already working on the next article. Check up more of our blogs meanwhile.


Let's engineer your breakthrough

79015, Smal-Stotskoho St. 1 Ukraine
50-062, Plac Solny 15 Poland


